
Lab #12: SVN
Goals
- Introduction to SVN
- Install Subclipse
- Connect to public SVN Repository
- Add new >YOURNAME< class
- Work together to get a working program
Background
Subversion (SVN) is a version control system created by Apache used to maintain current working repositories of source code between multiple users. Instead of having multiple copies of updated code on multiple machines, SVN works as a master to allow users access to its files by checking out the code base, making changes, and then checking it back in. SVN keeps track of what files were updated and logs it based on the user that checked it out and committed a new version. If multiple people check out the same file and commit an updated version, SVN marks the conflicts and forces the user to make a decision.
The code base in subversion is split up into 3 separate folders:
Trunk- the main body of development, originating from the start of the project until the present. It is the master. The trunk should only contain working code and is usually a exact copy to what is currently built or "live" to the user.Branches- a copy of the code derived from the trunk. This is the code that users check out and work on. A new branch is created for a major code change. Branches are used to keep the integrity of the trunk. Once the changes are ready to go live and are thoroughly tested, the branch can be merged back into the trunk as to update the master.Tags- a "snapshot" or the code at a specific point in time. It is usually used based on the deployment of code. When a new fix needs to be deployed, a tag is made (snapshot is taken) based on the updated branch. Normally, the branch is then immediately merged with the trunk and the code is built.
Subclipse Setup
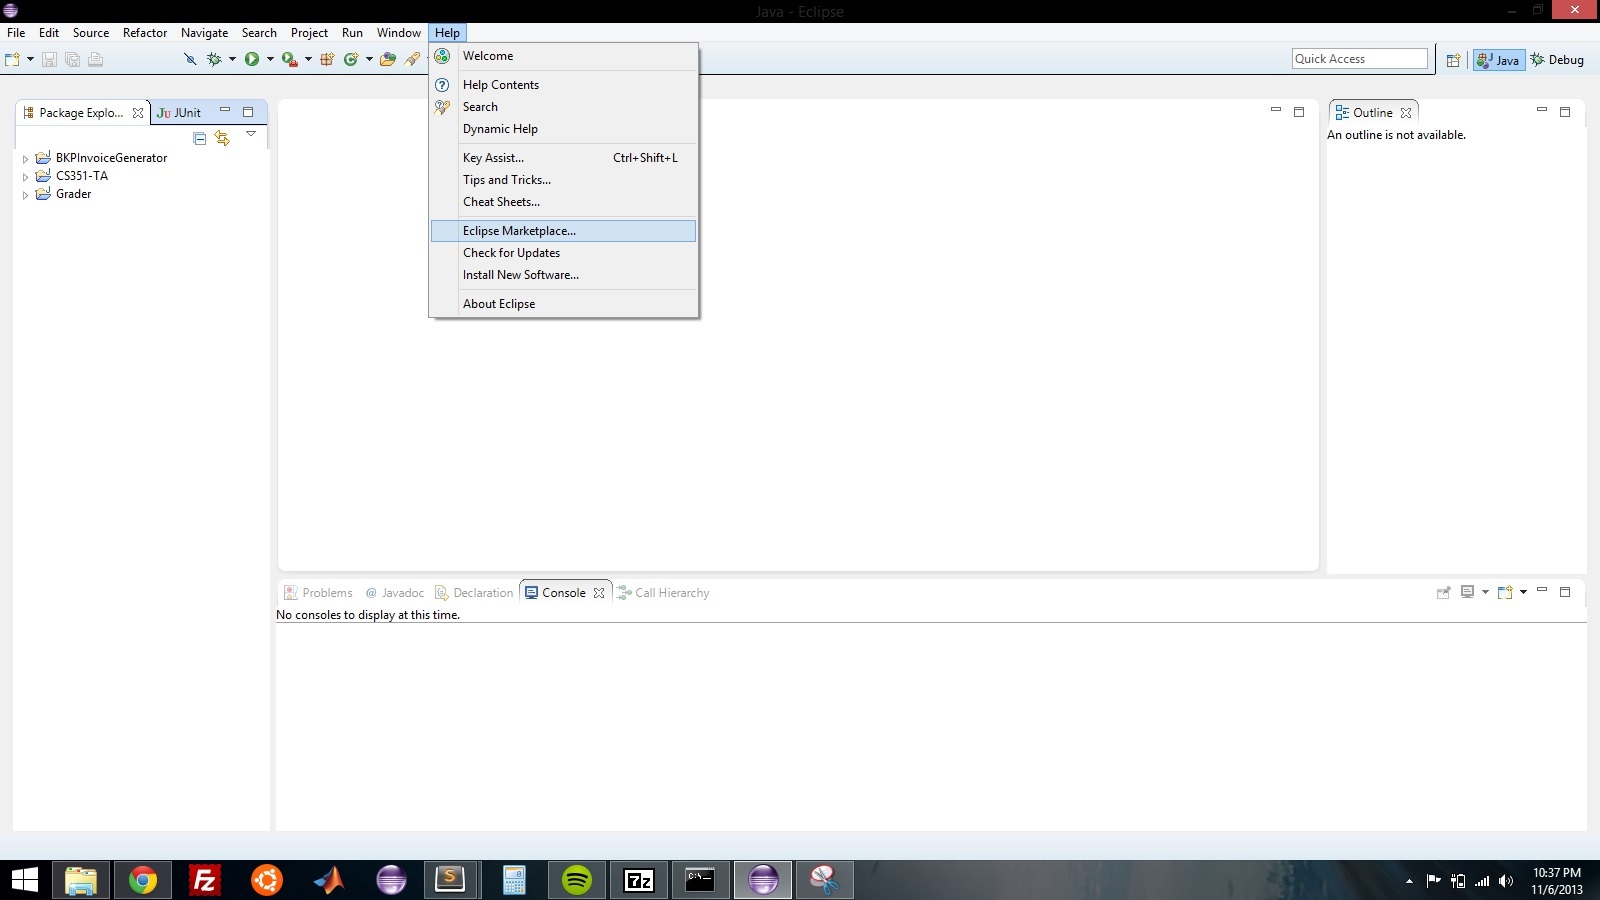
To use the power of SVN through Eclipse, each installation must have Subclipse installed. This is easily done through the Eclipse Marketplace. Help->Eclipse Marketplace... (If you are on one of the lab machines, the latest version of Eclipse is not installed and doesn't have the Eclipse Marketplace. Instead, Help->Install New Software... and copy http://subclipse.tigris.org/update_1.8.x into the "Work with:" dialog. Then, select Subversion and all items under it to install.)
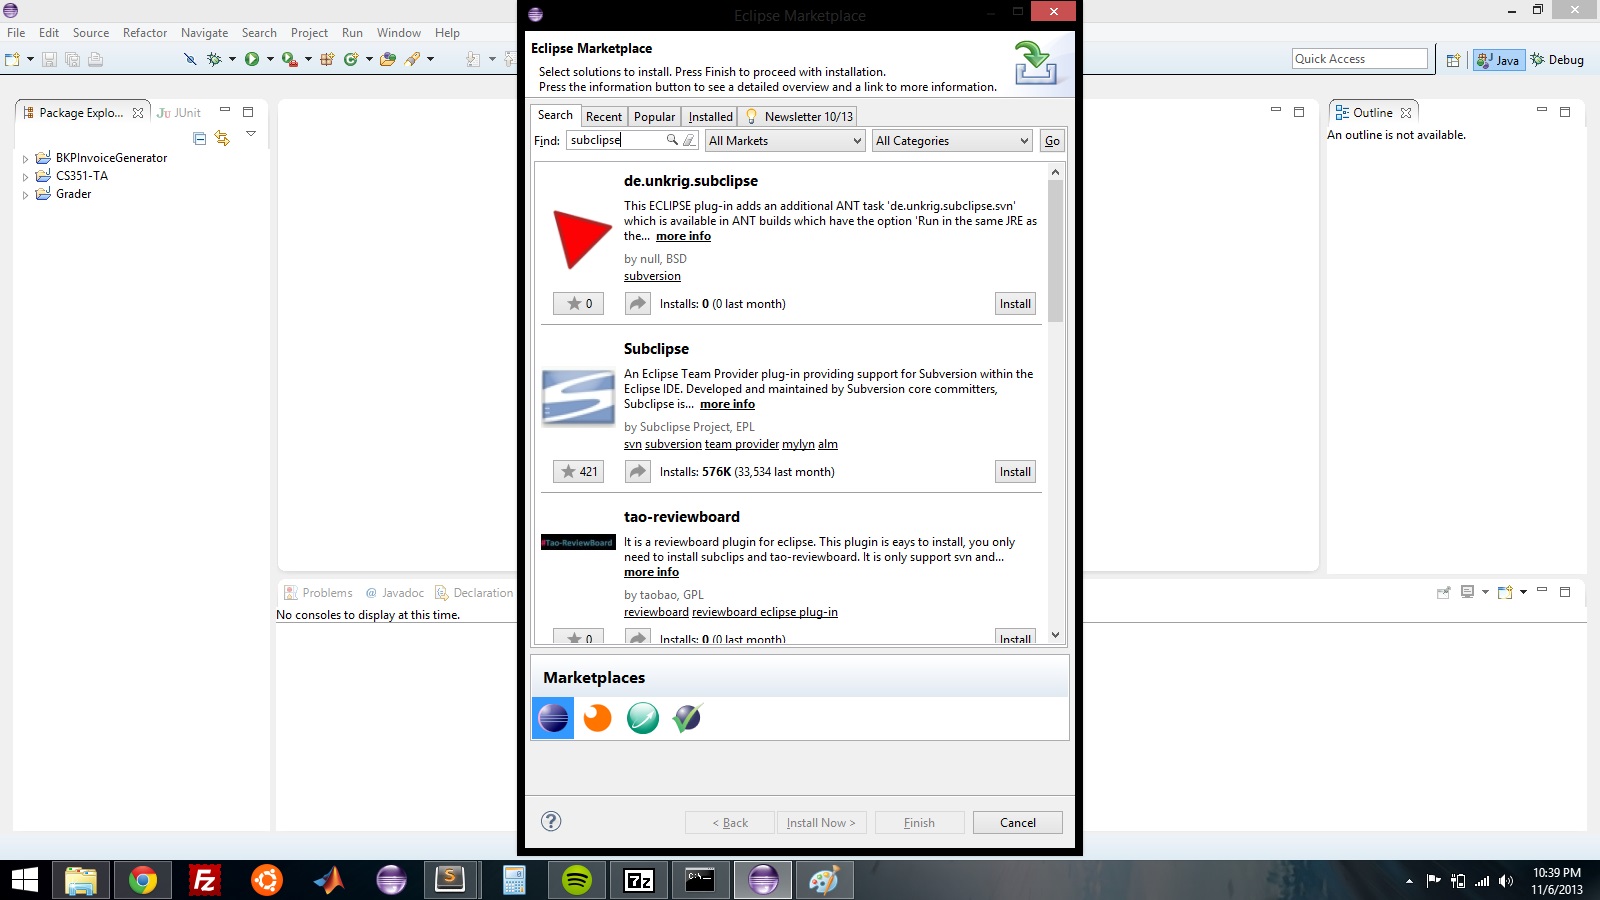
Search for "Subclipse". Press the "Install" button on the Subclipse selection.
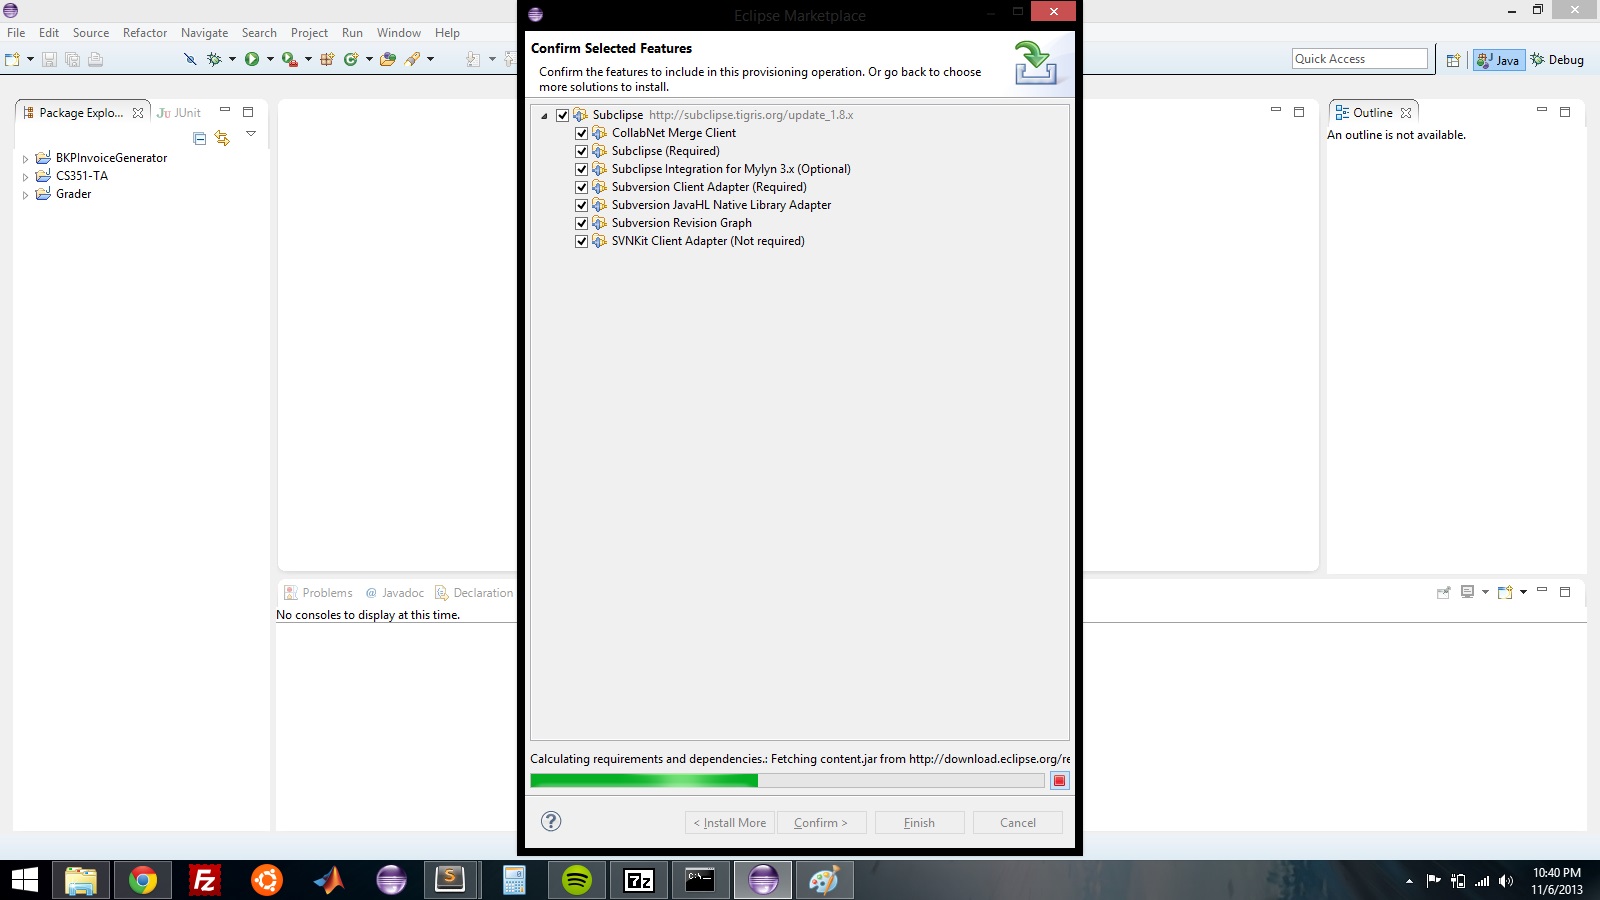
Confirm all of the selected features.
Accept the terms of the license agreements and press "Finish".
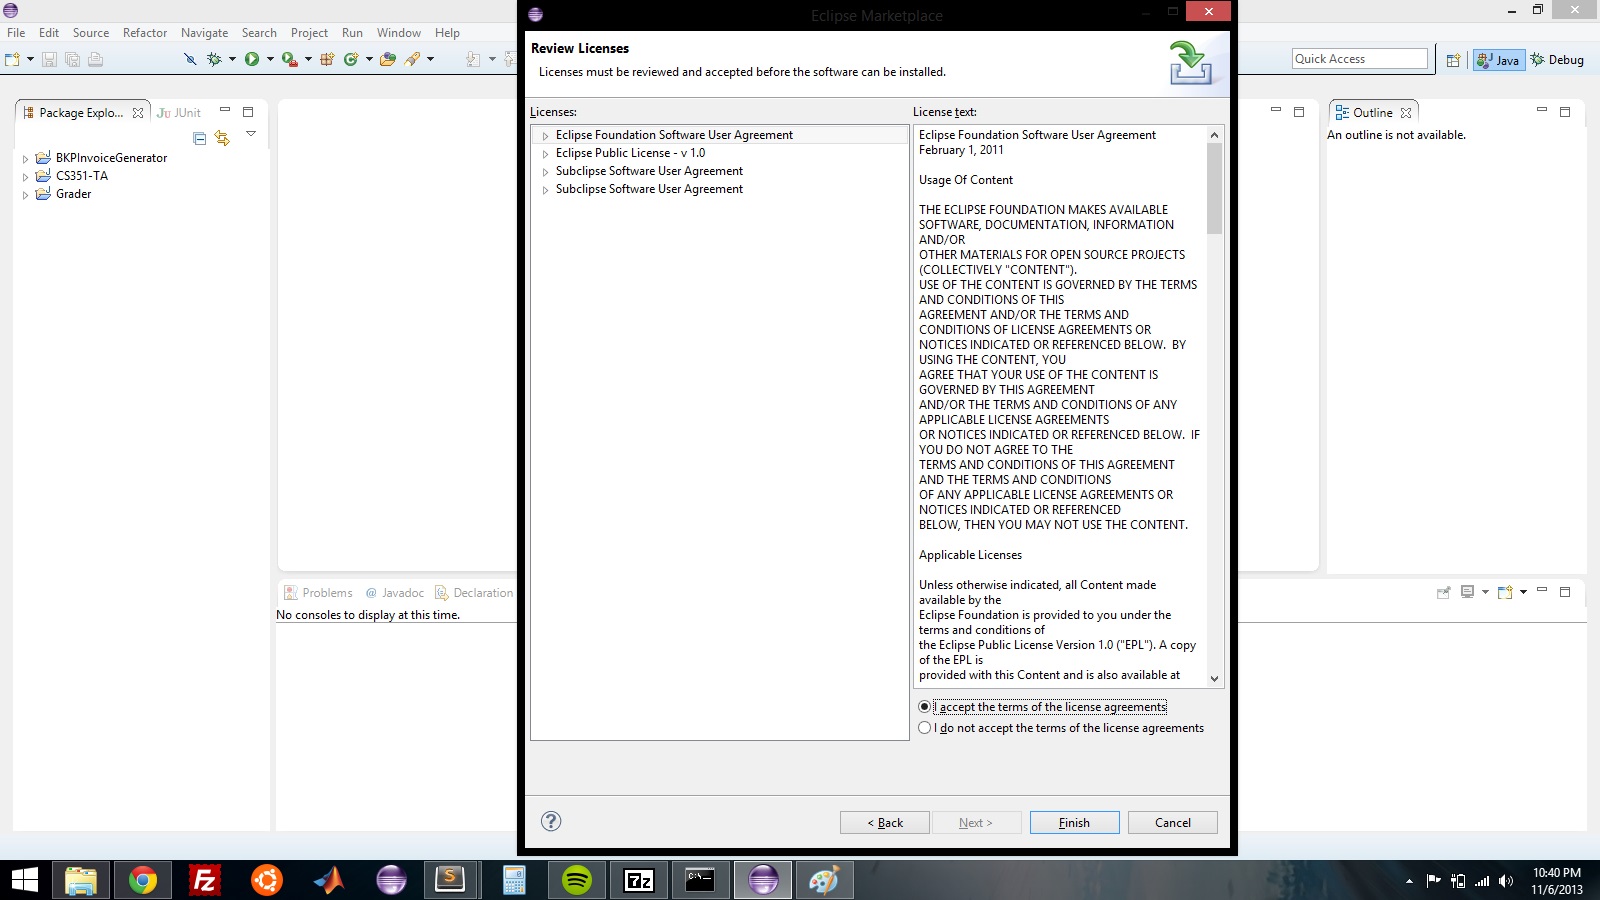
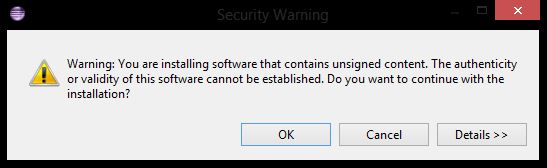
Press okay if confronted with the "Security Warning" about unsigned content.
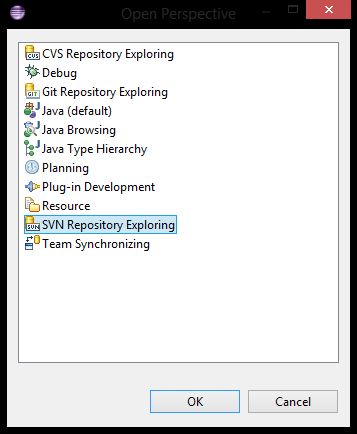
Once installed, Eclipse will need to restart. Do so. After it is back up, we need to change perspectives to the "SVN Repository Exploring" perspective. This can be done through Window->Open Perspective->Other...
Choose SVN Repository Exploring.
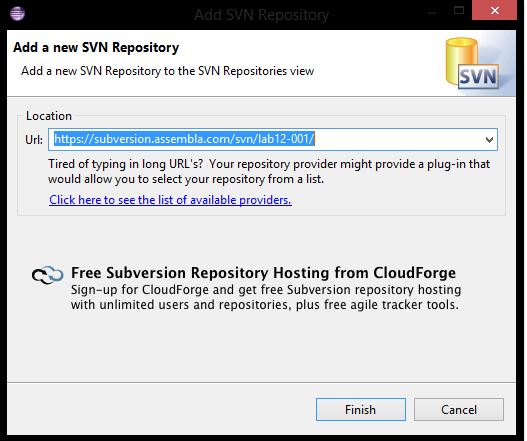
Now we need to actually connect to a repository. For this lab, I have set up a public repository on Assembla.com. I have made it so anybody can connect to it and checkout/commit code/changes. Right Click->New->Repository Location...
The repo exists at the following URL: https://subversion.assembla.com/svn/lab12-001/
//TODO
Check out the latest branch from the repository and let's get started.
Right Click on latest branch->Checkout...
Select "Checkout as a project configured using the New Project Wizard".
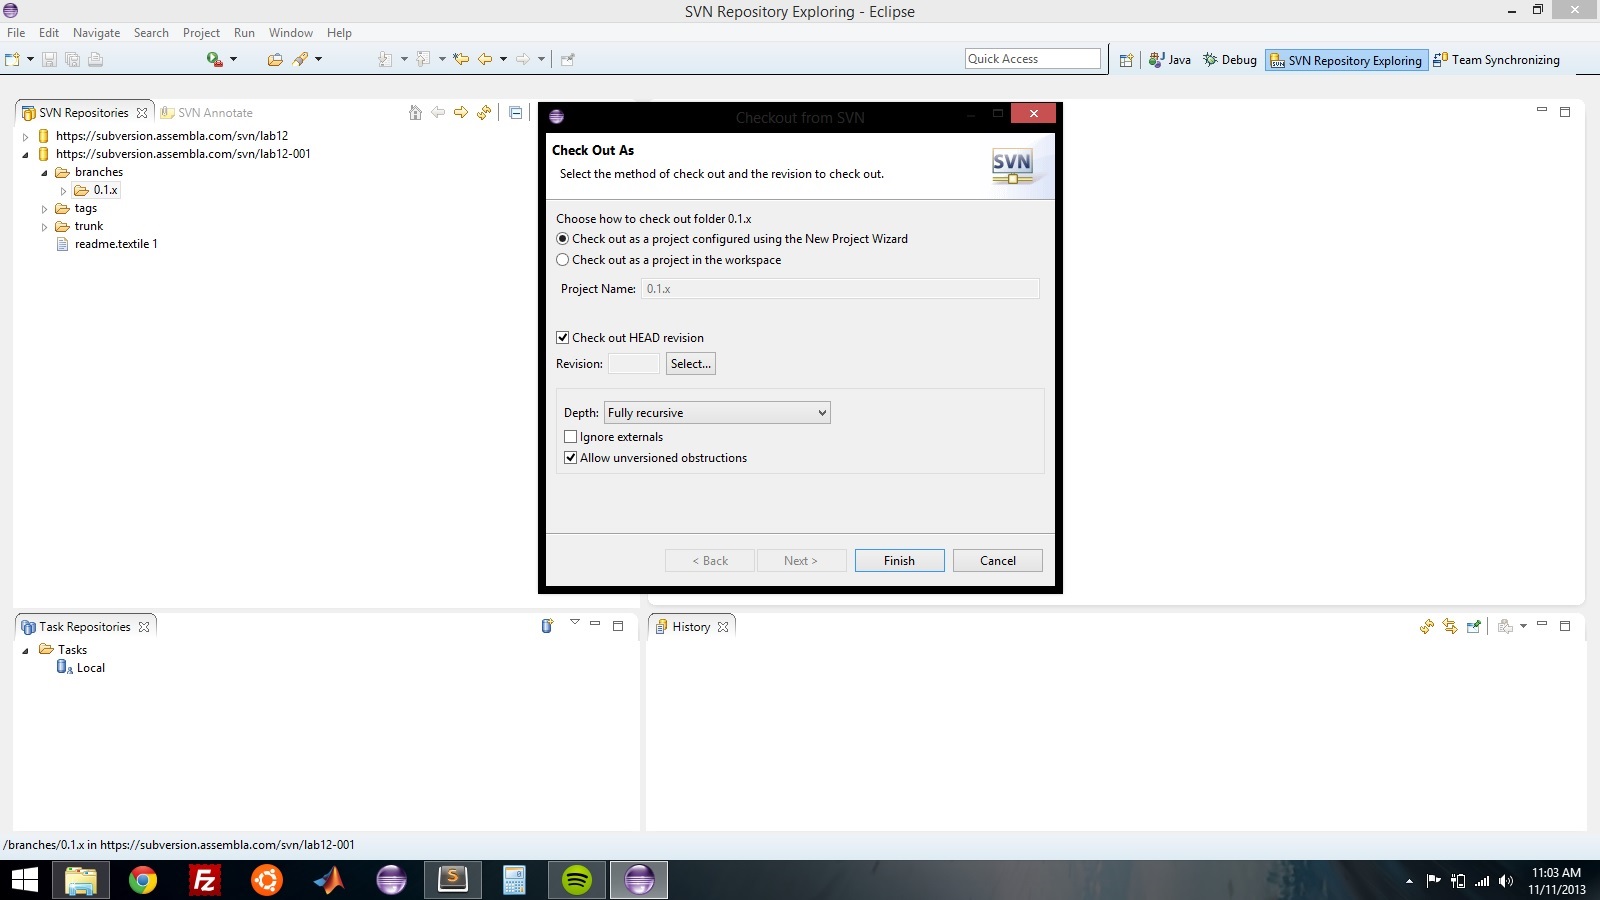
Name your project something reasonable, like "SVNLab12".

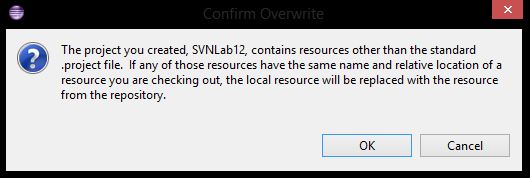
What this does is creates a brand new Java Project on your machine with your own .project files etc. Since we are all working on difference operating systems using different JREs etc., we must add the .project, .classpath, and .settings files to svn:ignore so that they aren't checked in and out for each user. If these files weren't added to svn:ignore, then each time a user would check in their .project file, it might possibly break when another user gets the latest. I have already added the files to svn:ignore so you guys don't have to do anything specific.
This is a simple lab to get you familiar with SVN from within Eclipse (checking out a branch, creating a new file, committing changes, merging to trunk, creating tags, dealing with conflicts).
The code base contains a com.putable.labs.lab12.Student interface, a com.putable.labs.lab12.Printer class, which contains a main(), and a com.putable.labs.lab12.BradyKey class which implements a Student. The goal of this lab is to have every user create a new class named "FirstnameLastname" and have it implement Student. There are two methods in Student:
void printName();void printInterestingFact();
Each method should do just that; print the full name of the student to standard out (preferably with a new line) and also an interesting fact about that student.
The goal of this lab is to get the Printer to print out every student and an interesting fact about them. Since everybody will be altering the same Printer file, I assume there will be many conflicts. This gives us a chance to deal with them.
Hints
- To commit changes: Right Click on SVN Controlled Project->Team->Commit...
- Document every commit thoroughly. This can be extremely important later when conflicts happen.
- Make sure to ALWAYS "Team->Update to HEAD" before making any changes and before committing those changes. Conflicts are your responsibility.
- Software can't automatically resolve conflicts; only humans are capable of understanding and making the necessary intelligent choices. When faced with a conflict, it must be manually fixed and then a new "merged" version with both conflicting changes can be committed. Note: with great power comes great responsibility; users could in this case overwrite another team member's code by unintelligently resolving the conflict. Open communication with your team is key when a conflict that you don't know the resolution of, presents itself.
- Only merge to trunk when completely sure it's fully working (i.e. ready to be deployed, shown to customer etc.)
- When you try and commit, it will ask for a password. Anything will work. Make sure your username is your actual name though. This is how we know who checked in what.